Clean & Safe: How to Make Aloe Vera Juice Without Bitter Sap
Aloe vera, a succulent renowned for its myriad healing properties, has graced traditional medicine for millennia. From soothing skin ailments to promoting digestive health, its benefits are widely celebrated. Among the most popular ways to harness this plant's power is by drinking its juice. While store-bought options are plentiful, mastering how to make aloe vera juice at home offers unparalleled freshness, purity, and cost savings. However, the secret to a delicious, health-boosting homemade juice lies in one critical step: safely removing the bitter, potentially irritating yellow sap.
Many aspiring home juicers wonder if making aloe vera juice themselves is a complex task. The truth is, it's far simpler than you might imagine, and the rewards are immense. This comprehensive guide will walk you through every step, ensuring your homemade aloe vera juice is clean, mild, and absolutely safe to enjoy, free from any unpleasant bitterness or digestive upset.
Why Homemade Aloe Vera Juice is the Best Choice
Opting to make your own aloe vera juice comes with a host of advantages that often outweigh purchasing commercial varieties:
- Unmatched Freshness: When you make juice at home, you're getting the purest form of the plant's goodness, ensuring maximum nutrient retention.
- Cost-Effective: A single aloe vera plant can provide numerous leaves over time, making homemade juice significantly more economical than regularly buying bottled versions.
- Purity and Control: You dictate what goes into your juice. No hidden sugars, artificial flavors, or preservatives often found in commercial products. You control the blend, ensuring it aligns with your health goals and taste preferences.
- Health Benefits: Fresh aloe vera gel is packed with vitamins, minerals, enzymes, and amino acids. When properly prepared, its juice can support digestion, boost hydration, and provide a natural dose of antioxidants.
For more insights into the general health benefits and the ease of the process, be sure to explore our guide on Make Aloe Vera Juice at Home: Easy Steps & Health Benefits.
The Critical First Step: Selecting and Preparing Your Aloe Leaf
The journey to perfect aloe vera juice begins with the right leaf and crucial preparation to avoid the unwanted yellow sap, also known as latex. This sap contains aloin, a compound that can cause bitterness, act as a stimulant laxative, and in higher doses, lead to cramps or diarrhea. Reputable health authorities, including the NIH’s NCCIH, highlight concerns regarding aloe latex for oral use, making its careful removal paramount.
Choosing Your Leaf:
- Maturity Matters: Select a thick, mature outer leaf from your aloe plant. These leaves are typically heavier for their size and contain more gel.
- Avoid Skinny Leaves: Thinner leaves yield less gel and are often more challenging to fillet cleanly, increasing the risk of sap contamination.
- Clean Cut: Using a clean, sharp knife, cut the chosen leaf as close to the base of the plant as possible.
Initial Cleaning and Sap Drainage:
Immediately after cutting, you might notice a yellow liquid beading up along the severed edge of the leaf. This is the bitter sap we want to avoid. Proper drainage is a non-negotiable step:
- Rinse and Dry: First, rinse the entire leaf thoroughly under cool running water and pat it dry with a clean cloth.
- Stand to Drain: Position the cut leaf upright in a tall glass or bowl, cut side down. Allow it to drain for 10 to 20 minutes. This gives the majority of the yellow latex a chance to seep out. You'll often see a visibly yellow puddle forming in the bottom of the glass.
- Rinse Again: After draining, give the cut edge another quick rinse under cool water to wash away any lingering surface sap.
Gather Your Tools:
Before you proceed, ensure you have the following items ready:
- A stable cutting board
- A very sharp knife (a fillet knife works wonderfully)
- A clean bowl for collecting the clear aloe gel
- A blender
- A fine-mesh strainer (optional, for ultra-smooth juice)
- A clean jar or bottle with a lid for storage
Filleting for Purity: Separating Gel from Sap
This is arguably the most crucial stage. The goal is to extract the pure, clear inner gel while meticulously avoiding any contact with the yellow sap layer situated directly beneath the green skin.
- Trim the Spikes: Lay the drained aloe leaf flat on your cutting board. Using your sharp knife, carefully slice off the spiky edges along both sides of the leaf in long, thin strips. This creates a stable, flat surface to work with.
- Peel the Rind (Top Side): Carefully slide your knife just under the green skin of the leaf, starting from the wider end. Use a gentle, sawing motion to lift and peel away the tough green rind. Try to keep your knife as close to the green skin as possible, leaving the clear gel intact. The aim is to remove only the green outer layer.
- Expose the Yellow Layer: Once the top green rind is removed, you will see the clear gel, but you might also notice a faint yellow or greenish-yellow film directly on the gel's surface or clinging to the underside of the removed rind. This is the residual latex.
- Shave Off Residual Sap: Using your knife or even a spoon, gently *shave* or *scrape* away any remaining yellow layer from the exposed clear gel. It's vital to be thorough here. You want only the translucent, jelly-like inner gel. If you see any yellow streaks, carefully remove them.
- Peel the Bottom Rind: Flip the leaf over and repeat the peeling process for the bottom green rind. Again, be mindful of any yellow sap.
- Harvest the Gel: Once both sides are peeled and any yellow residue is removed, you'll be left with a slab of pure, clear aloe vera gel. You can then cube this gel or scoop it directly into your clean bowl.
- Optional Rinse of Gel: As an extra precaution, you can give the harvested gel pieces a quick rinse under cool water. This helps to wash away any tiny traces of sap that might have inadvertently adhered to the gel during the filleting process.
By following these careful steps, you ensure that only the beneficial, pure gel makes it into your juice, leaving behind the bitter and potentially irritating compounds. For more intricate details on crafting your own fresh juice and ensuring nutrient preservation, dive into Fresh & Nutritious: Craft Your Own Aloe Vera Juice Easily.
Blending Your Way to Refreshment: Recipes and Tips
With your pure aloe vera gel ready, the fun part begins: creating your delicious juice!
- Transfer to Blender: Place your clean, clear aloe vera gel into a high-speed blender as soon as possible.
- Choose Your Liquid Base: This is where you can customize your flavor profile.
- Water: For the mildest, most natural aloe taste, use cold filtered water. Start with a ratio of about 2 tablespoons of gel per 1 cup of water.
- Fruit Juices: To mask the subtle "green" taste of aloe and add sweetness, mix with your favorite fruit juice. Apple juice, orange juice, grapefruit juice, pineapple juice, or even cranberry juice are popular choices. This also adds extra vitamins and flavor complexity.
- Coconut Water: A fantastic electrolyte-rich option that pairs well with aloe's freshness.
- Add Flavor Enhancers (Optional):
- A squeeze of fresh lemon or lime juice not only brightens the flavor but can also help with preservation.
- A small piece of peeled ginger root adds a zesty, anti-inflammatory kick.
- A few mint leaves for a refreshing twist.
- A touch of natural sweetener like honey or agave nectar, if desired.
- Blend Until Smooth: Secure the lid on your blender and blend on high speed until the mixture is completely smooth and uniform, with no visible chunks of gel. This usually takes about 30-60 seconds.
- Strain (Optional): For an ultra-smooth consistency, you can pour the blended juice through a fine-mesh strainer to remove any small fibrous pieces that might remain.
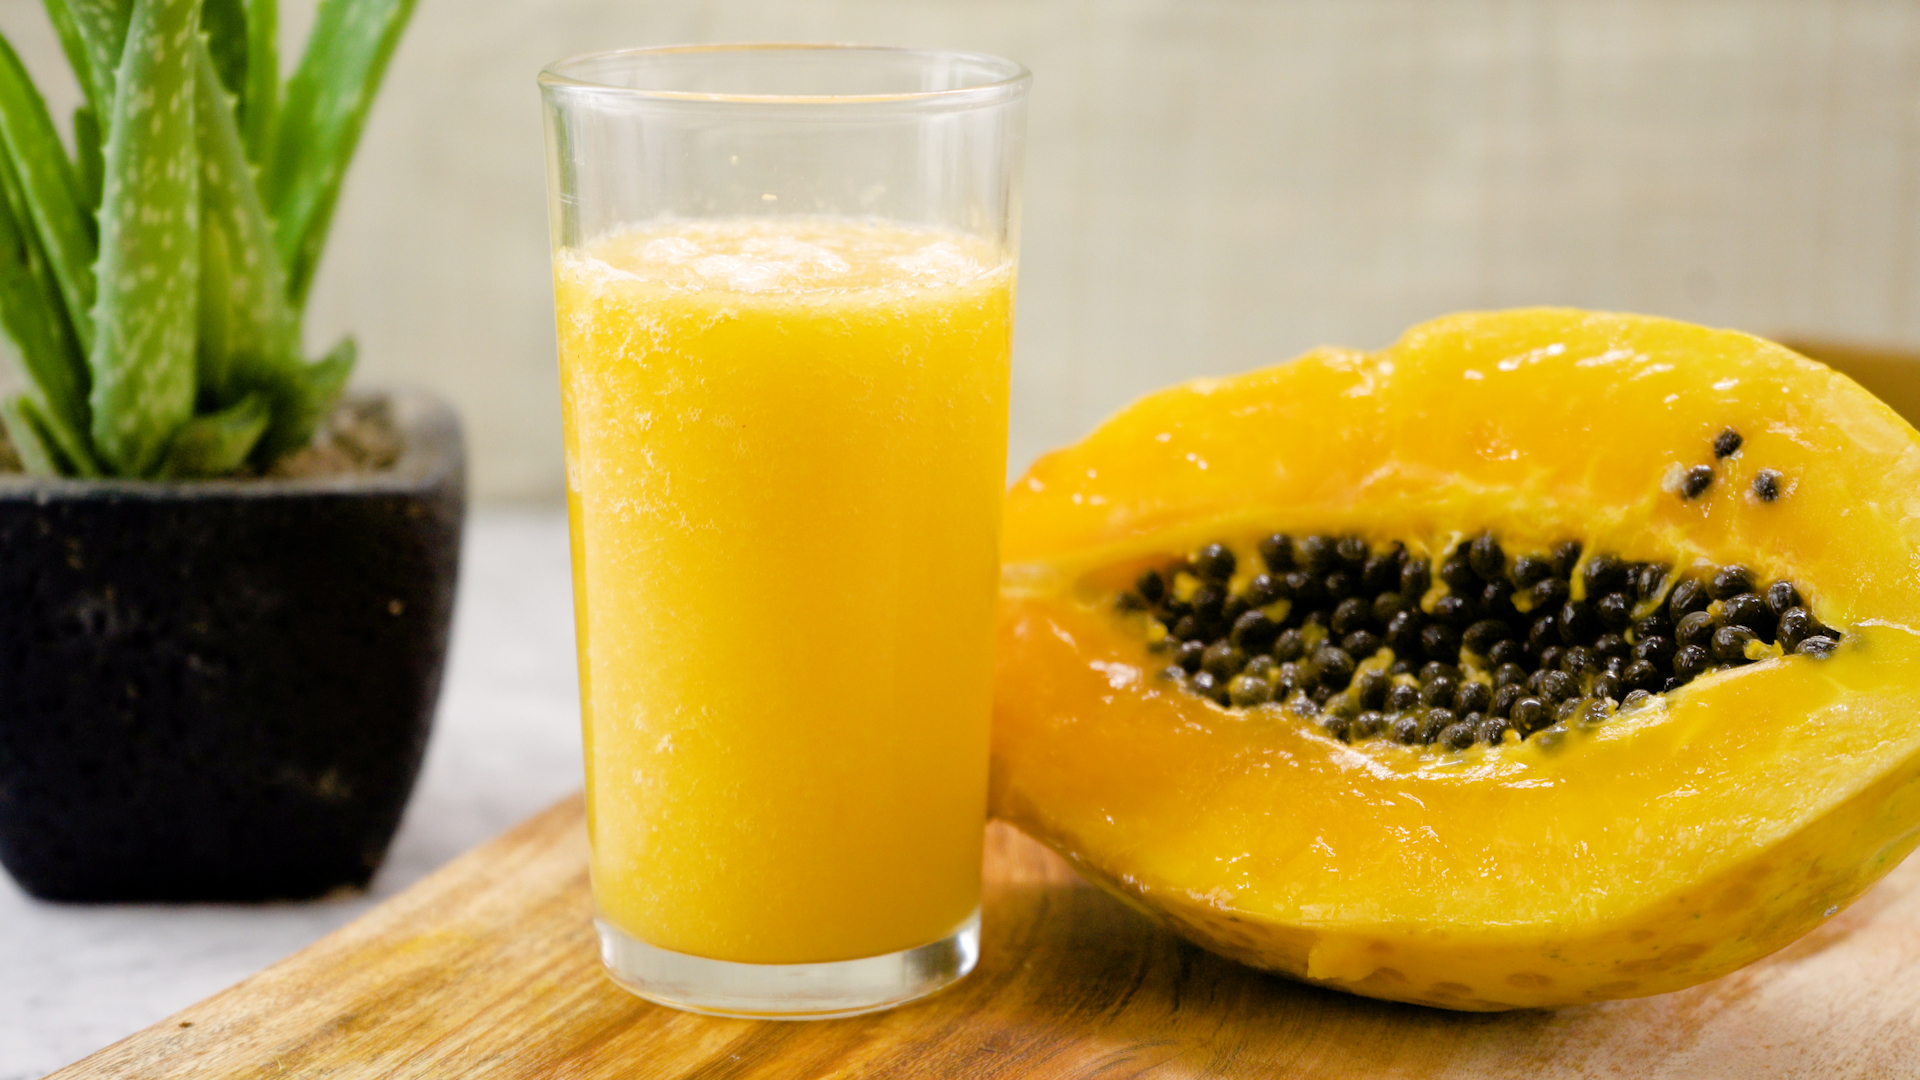
- Serve Immediately: Pour your freshly made aloe vera juice into a glass and enjoy! It's best consumed immediately to maximize its nutritional value.
Storing Your Homemade Elixir
While fresh is always best, you can store your homemade aloe vera juice for a short period:
- Refrigeration: Transfer any leftover juice to a clean, airtight container (like a glass bottle or jar) and store it in the refrigerator.
- Shelf Life: Consume within 24-48 hours for optimal freshness and potency. The addition of citrus juice can slightly extend this, but generally, fresh juices have a short shelf life.
- Signs of Spoilage: If the juice develops an off smell, changes color significantly, or shows signs of fermentation (like bubbling), discard it.
- Freezing for Longer Storage: For extended storage, you can freeze individual portions of the juice in ice cube trays. Once frozen solid, transfer the cubes to a freezer-safe bag. When ready to drink, simply thaw a few cubes and blend with a fresh liquid base.
Conclusion
Making your own clean and safe aloe vera juice at home is a rewarding endeavor that puts the power of this incredible plant directly into your hands. By understanding the importance of carefully removing the bitter yellow sap and following our detailed preparation and blending steps, you can create a refreshing, nutritious, and delicious beverage without compromise. Embrace the ease and endless health benefits of homemade aloe vera juice – a true testament to nature's bounty, crafted with care in your own kitchen.
